How Do You Properly Hang Lights on a Christmas Tree?
Imagine your Christmas tree glowing beautifully, radiating holiday cheer throughout your home. Sounds magical, right? While hanging lights on your tree might seem straightforward, ensuring an even and enchanting display can be challenging. In this guide, we'll walk you through the steps to get your tree perfectly lit and ready to dazzle throughout the festive season.
Choose the Right Lights
Choosing the right lights for your Christmas tree is crucial to achieving the perfect holiday ambiance. You should consider the following factors:
Types of Lights: Decide between LED and incandescent. LED lights are energy-efficient and longer-lasting, while incandescent lights offer a warm, classic glow.
Color Options: Consider whether you want warm white, cool white, multicolored, or a mix. The choice sets the tone for your tree's overall look.
Light Count: Generally, you'll need about 100 lights per foot of tree height. Adjust based on how bright or sparse you want the lights.
Steps to Put Lights on a Christmas Tree
Now that you know your options, it’s time to get those lights on your tree. Follow these simple steps for a beautifully lit tree:
1. Test Your Lights
Before you start decorating, plug in your lights to make sure they’re working. This simple step helps you avoid the frustration of dealing with burnt-out bulbs later on.
2. Set Up Your Tree
Place your tree in its stand and position it where you want it. For real trees, make a fresh cut at the base and ensure it’s properly watered. A well-set tree is crucial for easy decorating.
3. Plan Your Lighting Strategy
Decide on your lighting approach. Whether you want an even, classic glow or a more dynamic look with grouped lights, planning ahead will guide your decorating process.
4. Wrap the Lights
Starting from the base, wrap the lights around the tree in a spiral pattern, moving outward. Make sure to cover all the branches for a full and radiant appearance. Secure the lights with twist ties or small hooks as you go.
5. Adjust and Add Decorations
Once all the lights are in place, plug them in and check the overall effect. Adjust any uneven spots and then add your ornaments and tinsel. Finish with a final touch-up to ensure everything is perfectly positioned.
Pre-lit Christmas Trees: Why You Should Choose Them
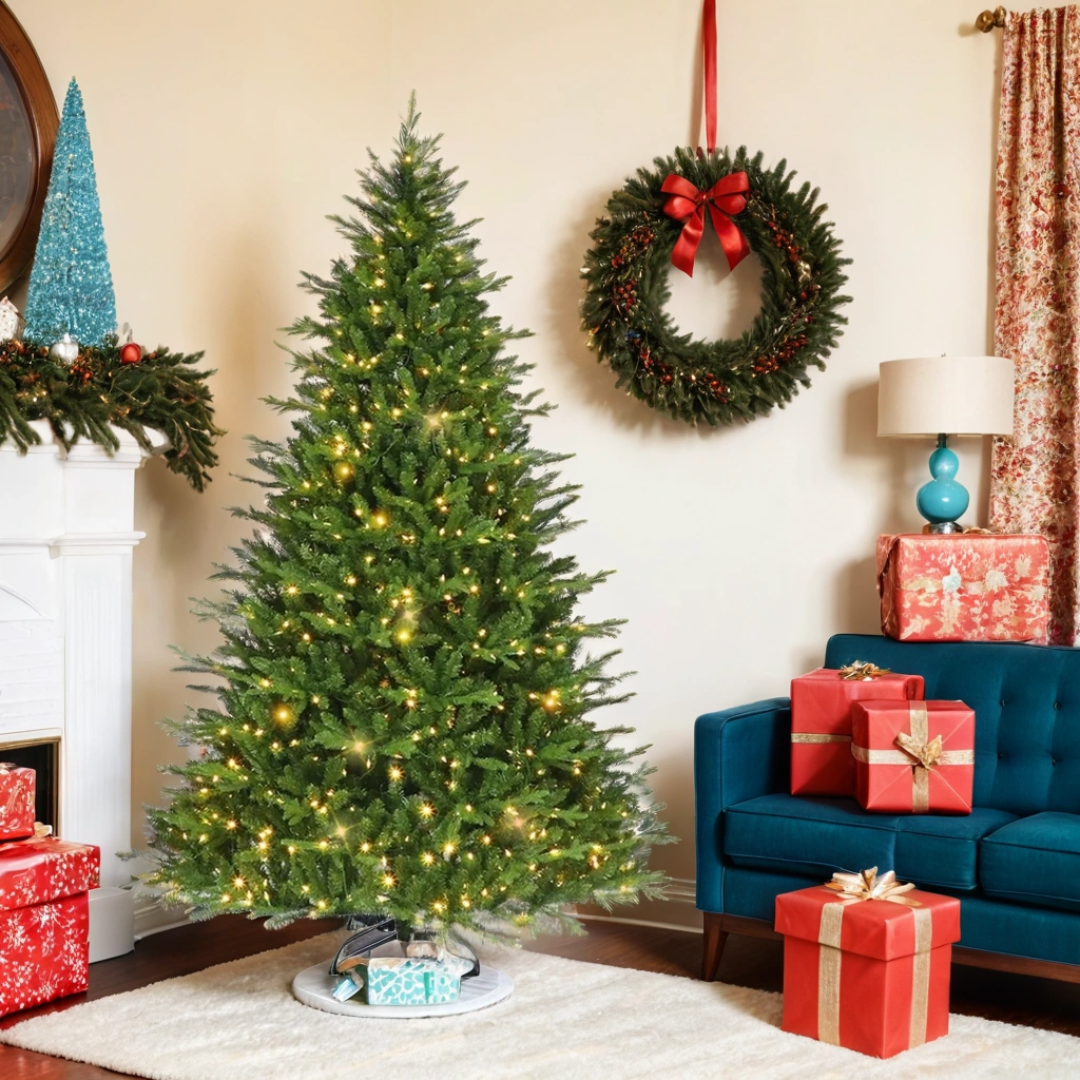
If you’re looking for convenience and a perfectly lit tree without the hassle, prelit Christmas trees might be the way to go. Here’s why:
Easy Setup: Prelit trees come with lights already installed, saving you time and effort. Simply fluff the branches and plug in the tree—no need to wrap lights yourself!
Even Lighting: The lights on prelit trees are evenly spaced, giving you a consistent, beautiful glow without the guesswork.
Reduced Tangling: With prelit trees, you avoid the frustration of untangling strings of lights and dealing with broken or missing bulbs.
Safe and Energy-Efficient: Many prelit trees use LED lights, which are cooler to the touch and more energy-efficient than traditional incandescent bulbs.
Variety: Prelit trees come in various styles and sizes, so you can find one that fits your home and holiday theme perfectly.
Conclusion
Decorating your Christmas tree with lights doesn’t have to be a daunting task. By following these simple steps, you can create a beautifully lit tree that brings holiday cheer to your home. If you’re short on time or prefer a hassle-free option, consider a prelit tree from Vivatrees. We offer a range of beautiful and reliable prelit Christmas trees to choose from, making your holiday decorating both easy and stunning.


