Step-by-Step Order for Decorating Your Christmas Tree
The holidays are upon us, and one of the most magical parts of the season is decorating the Christmas tree. Whether you're a seasoned pro or it's your first time, figuring out the best order to decorate your tree can make the process smoother and more enjoyable. Here’s a practical guide to help you decorate your tree in the perfect sequence.
1. Set Up the Tree First
Before you start decorating, it’s important to get the Christmas tree ready. Start by assembling each part, making sure they fit together securely. Once the tree is fully assembled, fluff out the branches. This step is key—fluffing the tree not only helps the tree appear fuller but also ensures that the lights and ornaments will hang properly. Make sure to separate each individual branch to avoid any gaps and give the tree a natural, full look.
2. String the Lights
Once your tree is fluffed, it’s time for the lights! Start from the base and work your way up, spacing the lights evenly along the branches for a balanced look. Place some lights inside the tree for depth and along the outer branches for a sparkling effect.
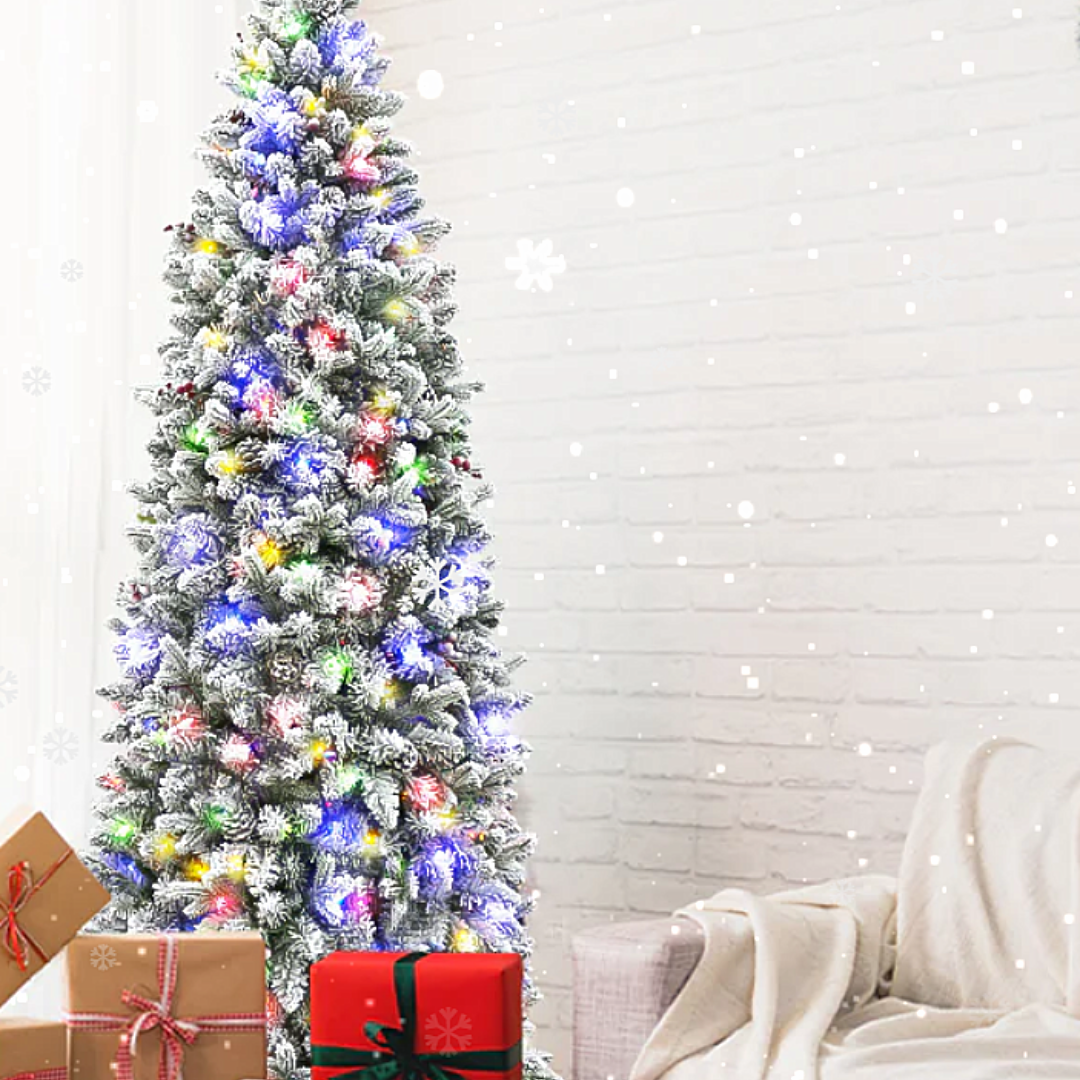
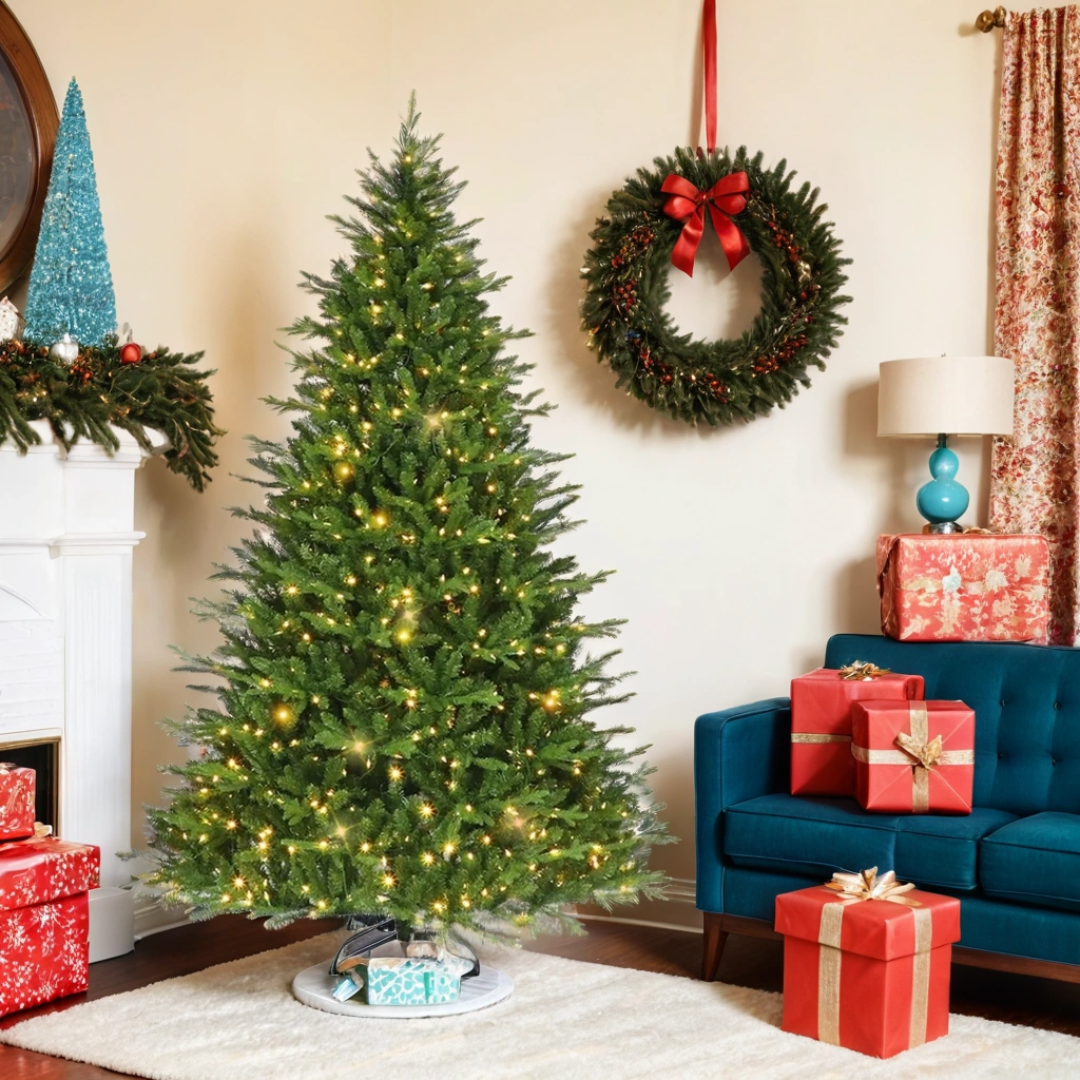
If you want a more convenient option, you could also check out our pre-lit Christmas trees. These come with various light color options and are ready to go right out of the box. No hassle, just plug and play! Whether you prefer warm white, multicolor, or even flashing lights, there’s a pre-lit tree to match your style, making decorating quicker and easier.
3. Add Ribbon or Garland
Once your lights are in place, it’s time to add ribbon, garland, or tinsel. These pieces add texture and depth to your tree and can help balance out the lights. Start at the top and let the ribbon cascade down the tree. For garland or tinsel, make sure to drape it evenly, mixing it between branches and letting it hang down in natural folds.
4. Hang the Ornaments
Now for the fun part—adding the ornaments! Start with the larger ornaments first. Hang these on the deeper branches so they don’t get lost behind the lights. This will provide a nice backdrop for smaller, more delicate ornaments. Once the larger ornaments are placed, fill in the spaces with smaller ones, evenly distributing the colors and styles throughout the tree.
5. Add the Tree Topper
The tree topper goes last because it’s the crowning piece of your tree. Whether you’re going for a star, an angel, or a bow, this final decoration will bring everything together. Make sure it’s secured well to avoid it toppling over. If you’re using a topper with lights, plug it in last to avoid unnecessary tangling.
6. Finishing Touches
Finally, step back and take a look at your tree. Add any finishing touches, like a few extra ornaments where the tree might look sparse or adjust the garland for a more symmetrical look. If you like, you can also place gifts under the tree, but make sure they’re not blocking your view of the decorations!
Conclusion
Decorating your Christmas tree is one of the most enjoyable parts of the holiday season. By following this simple process, you’ll create a beautifully balanced tree that’s sure to impress. So, grab a cup of hot cocoa, play your favorite holiday tunes, and start decorating. After all, the magic of Christmas is in the details!


